

LPCXpresso is a low-cost development platform for NXP’s Arm-based microcontrollers. In addition to hardware boards it includes a quite nice eclipse-based IDE, which seems to use gcc as compiler. I really haven’t bothered very much about it myself until another hobbyist asked me about tips for running Pico]OS -based applications in that environment for his LPC1769 board.
I myself have been using Eclipse CDT (3.8 currently) and Yagarto (arm gcc toolchain for windows environment). I don’t have a LPC1769 board myself, but instead I have an Olimex LPC-1343 board I have used to test cortex-m port of Pico]OS. Both are cortex-m3 boards so they should be suitable for testing basic architecture functionality.
As LPCXpresso also uses gcc toolchain the required changes are not huge, there are just some differences:
- My environment uses Pico]OS -specific startup code and linker scripts. LPCXpresso provides it’s own implementation, which is somewhat different
- My environment uses newlib runtime library (only some basic parts of it, however). LPCXpresso provides two alternatives: Redlib and newlib, both of which have three different variatiations
- My environment uses dynamic memory support (malloc/free) from Pico]OS nano layer. LPCXpresso provides malloc/free at least in redlib (which uses them internally also).
Both environments are based on CMSIS abstraction library.
It turned out that it was easy to detect that system is being compiled under LPCXpresso as it defines __CODE_RED symbol. When using redlib runtime library, symbol __REDLIB__ is also defined. By using #ifdefs based on these symbols it was easy to mask out my own early startup code in LPCXpresso environment, which allows the system to use redlib-compatible version instead. Symbol that contains address for top of stack is also selected with #ifdef (__stack for Pico]OS ‘native’ and _vStackTop for redlib).
To use redlib malloc support instead of nano layer’s, nano layer configuration in noscfg.h must be alterted to include
#define NOSCFG_MEM_MANAGER_TYPE 0
However, it appeared that more tweaking was required for redlib malloc to play nicely. Pico]OS has a stack for each task instead of single stack a simple redlib application would have. Because of this heap overflow checking didn’t really work, causing redlib to think that heap space was immediately exhausted. This was fixed quite simply by providing a custom implementation of __check_heap_overflow function. Redlib calls it when more heap space is allocated. As heap grows from bottom towards the interrupt stack (which itself grows downwards from top of memory) it was easy the check for heap exhaustion by comparing requested heap end address with calculated interrupt stack bottom.
These changes are now added to my cortex-m port, which is available from my download page.
Now, it is easy to create an LPCXpresso project using Pico]OS (these instructions are for version 5.1.2):
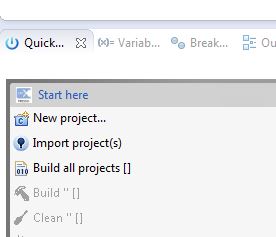
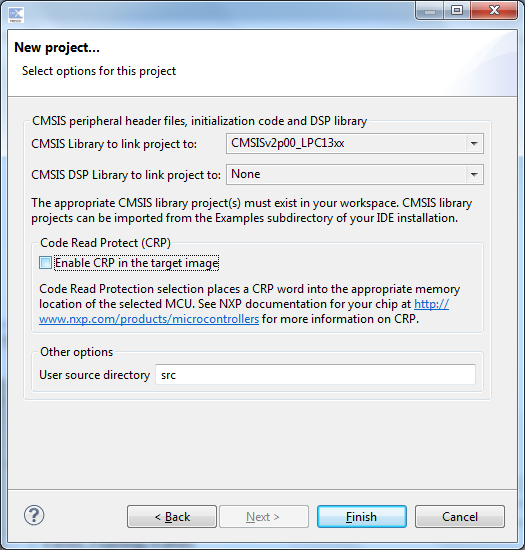
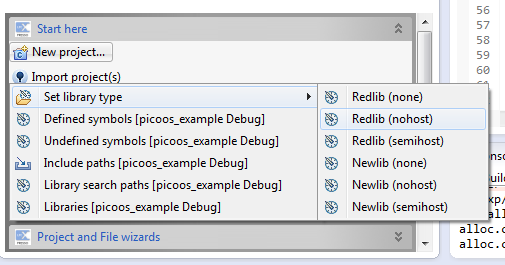
First, start new project wizard (you must import suitable CMSIS project before this, for me the correct one was cmsis v2 lpc13xx):
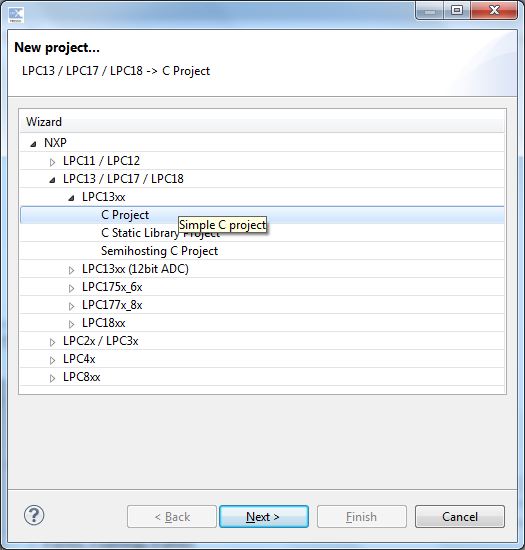
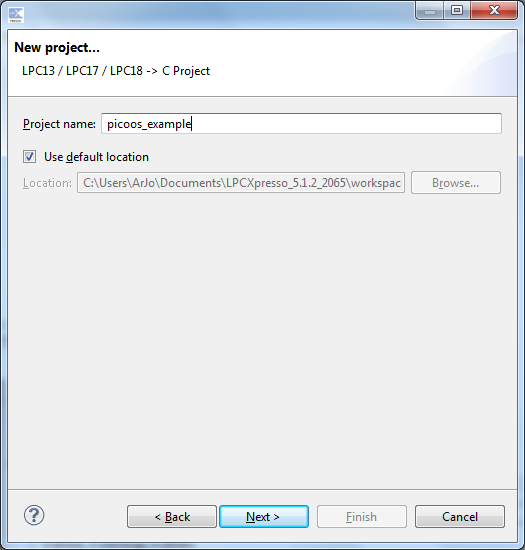
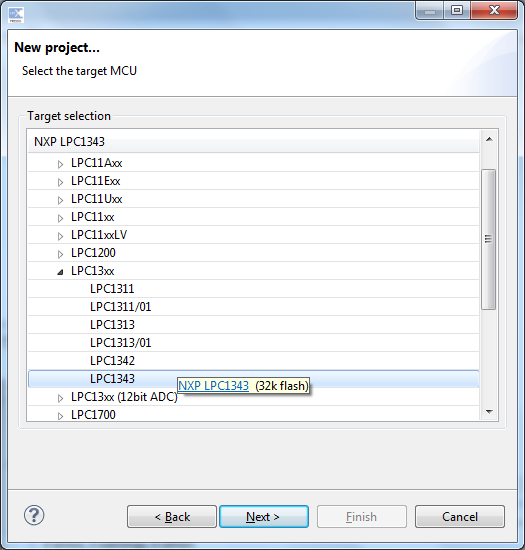
In wizard, select your CPU family, project type and actual CPU type:
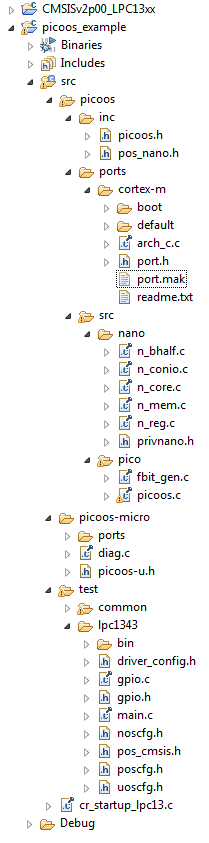
After the project is created, you can start working on generated main.c (or remove it if you are porting existing project). In any case, don’t remote the generated start up code (*startup*.c). Copy (or link) Pico]OS code and other necessary source & header files into your project. After this, you should have something like this:
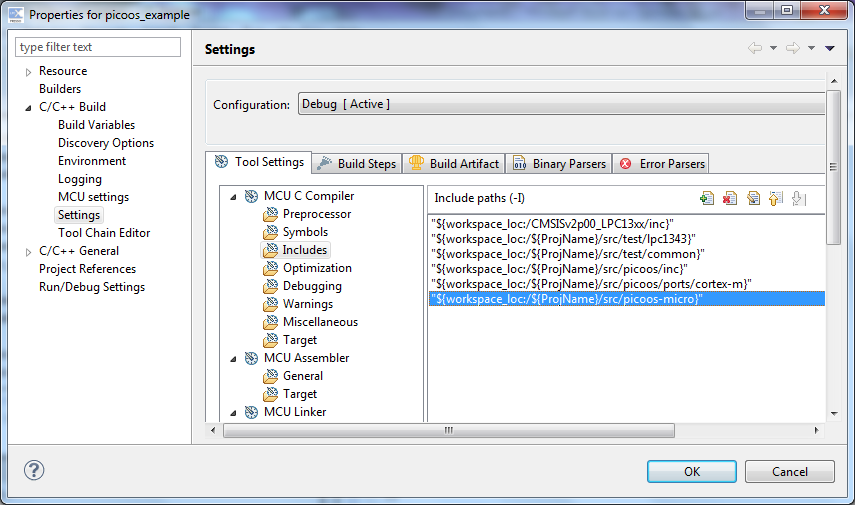
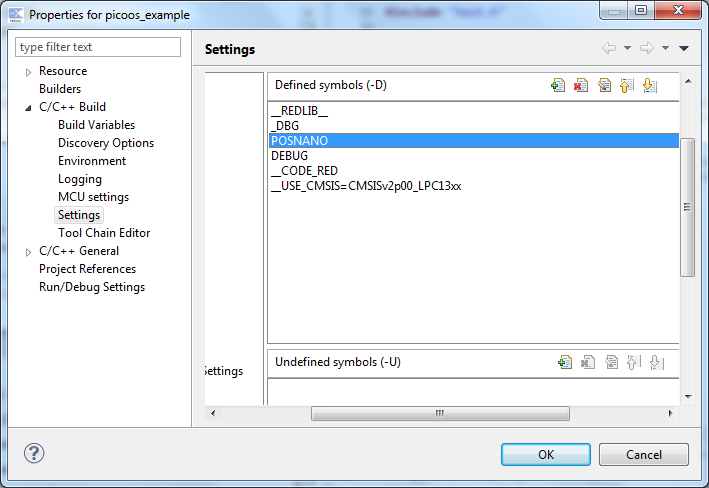
Before trying to compile, adjust compiler include paths and defined symbols (_DBG, POSNANO) to mimic what is done by Pico]OS Makefile system (be careful with these):
I didn’t use code read protection so I had to turn it off in linker settings:
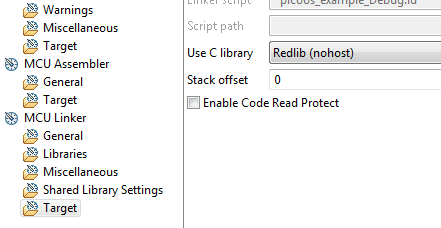
Select correct version of red lib. Default is “none”, but it doesn’t contain malloc/free implementation. Changing it to “no host” fixes this.
You are now ready to compile the project. I didn’t have suitable JTAG interface for my LPC1343 board, but the board is smart enough to appear as small flash disk in windows. I uploaded my test binary to it and surprise ! It works !
Father of three 🙂
{ Electronics | Music | Computer | Motorbike } hobbyist.
Factory IT professional.
FreeBSD since day one.


