

When I started toying with microcontrollers several years ago, I kind of ignored Microchip’s PIC family completely. I think it was 8-bit stuff only those days. Although having some history with 8-bit Z80 in my early years, my real job with 32/64-bit unix servers made me look for something “bigger”, which lead me to the LPC2000 series from Philips (NXP today).
But when NPX released some Arm Cortex-M0 chips in hobbyist-friendly DIP packages they made me look around what else might be available in similar packages. I knew about PIC32MX family from Microchip before, but wasn’t really interested in it, because I thought that Arm Cortex-M stuff would dominate the world (maybe it will, maybe not). But breadboarding is really nice during prototyping and PIC32MX chips in DIP packages have much more flash and ram than those offered by NXP.
PIC32MX has MIPS cpu core and there is a lot of information available about it on the internet. In addition to Microchip documentation, books like “See MIPS Run” by Dominic Sweetman and “Programming 32-bit Microcontrollers in C: Exploring the PIC32” by Lucio Di Jasio were also very helpful. As I had no MIPS assembly language experience yet, studying port of TNkernel for PIC32 by Anders Montonen was also very helpful.
I downloaded Microchip’s MPLAB X IDE anx XC compiler. MPLAB X is an IDE based on Netbeans (I’m more of a Eclipse user myself so no instant love here), which includes also PIC32 simulator. As I didn’t have any hardware yet the simulator was a nice system to start the development.
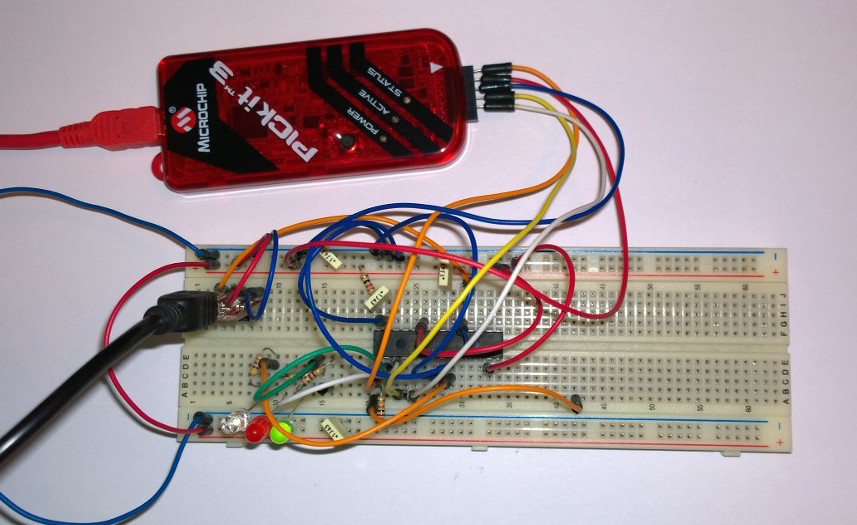 I started with simplest possible system which used MIPS core timer for scheduler tick interrupt. After that worked reliably, I added interrupt nesting and uart console output. Although the simulator is nice and I was able to get all this working with it, emulation was very slow. Because of this I decided I’ll buy some real hardware and ended up buying some PIC32MX250F128B chips from mouser.com. I plugged one of those into breadboard along with a FTDI breakout board and some leds. Nothing else is really needed as the chip is able to run with it’s internal oscillator without any crystals.
I had some problems with uart console code when moving to real hardware, apparently I had some registers initialised in wrong order but the simulator didn’t mind it. With real hardware working, I added support for sleeping and using TIMER1 as tick source (as TIMER1 can keep running from SOSC oscillator even when CPU is sleeping and main clock is stopped).
Pico]OS pic32 port is available at Github.
Father of three 🙂
{ Electronics | Music | Computer | Motorbike } hobbyist.
Factory IT professional.
FreeBSD since day one.


